Query Builder UI Tutorial
This guide is for researchers who have an approved DAR and access to AD Workbench.
The Query Builder lets you query remote data and run remote processing on approved datasets in a partner organization’s environment. After your Data Access Request (DAR) is approved, you can sign in via AD Workbench, connect to an FDSA instance, build a remote query task, and submit it for administrator review.
At a Glance: Query Builder Workflow
Step | What you do | Where it happens |
1 | Sign in and connect to an FDSA project | AD Workbench SSO → Query Builder |
2 | Review dataset info and existing tasks | Query Builder Overview |
3 | Create a task, select tables and columns | Create Task flow |
4 | Choose or upload a model | Model selection step / Models repository |
5 | Submit task and wait for admin approval | Tasks list (Quarantined → Approved/Done) |
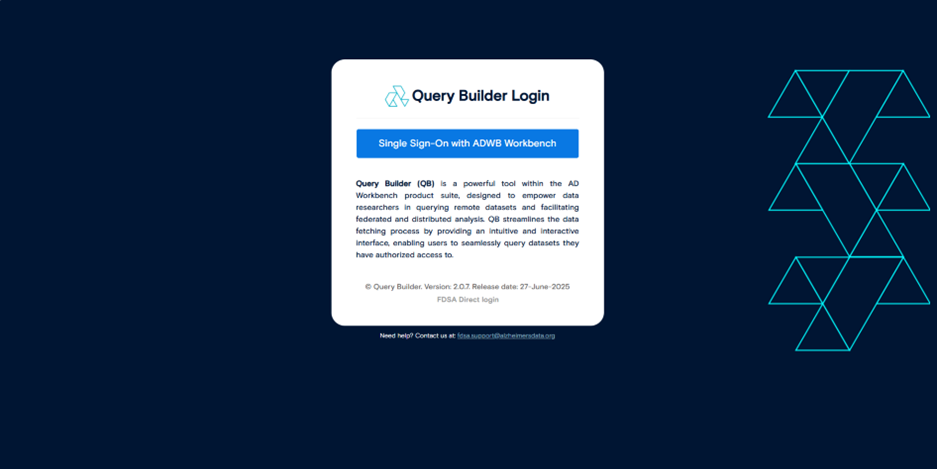
1 . Sign In and Connect to an FDSA Project
Once your Data Access Request (DAR) is approved, you can use the Query Builder to run remote queries against approved datasets. All analysis happens inside the partner organization’s environment; only approved results are returned to your protected workspace.
- In Query Builder, click Single Sign-on with ADWB Workbench.
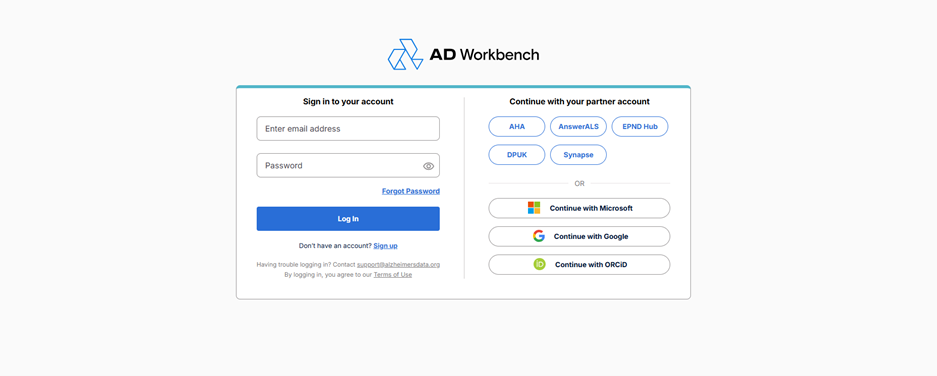
- Choose your identity provider and complete the authentication steps. You’ll be redirected back to Query Builder when sign-in is complete.
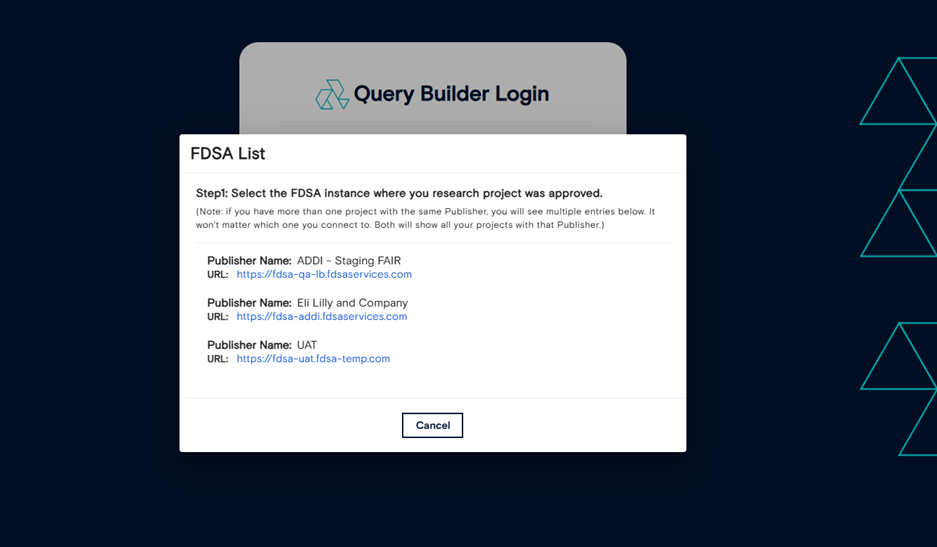
- If you have access to multiple FDSA instances, select which FDSA you want to connect to.
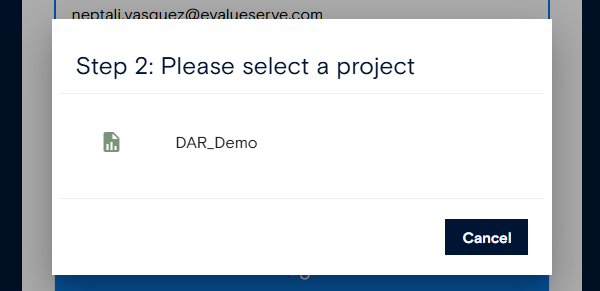
- From the list of approved projects, choose the project you want to work with.
After this step, you’re connected to a specific FDSA instance and project and ready to build queries.
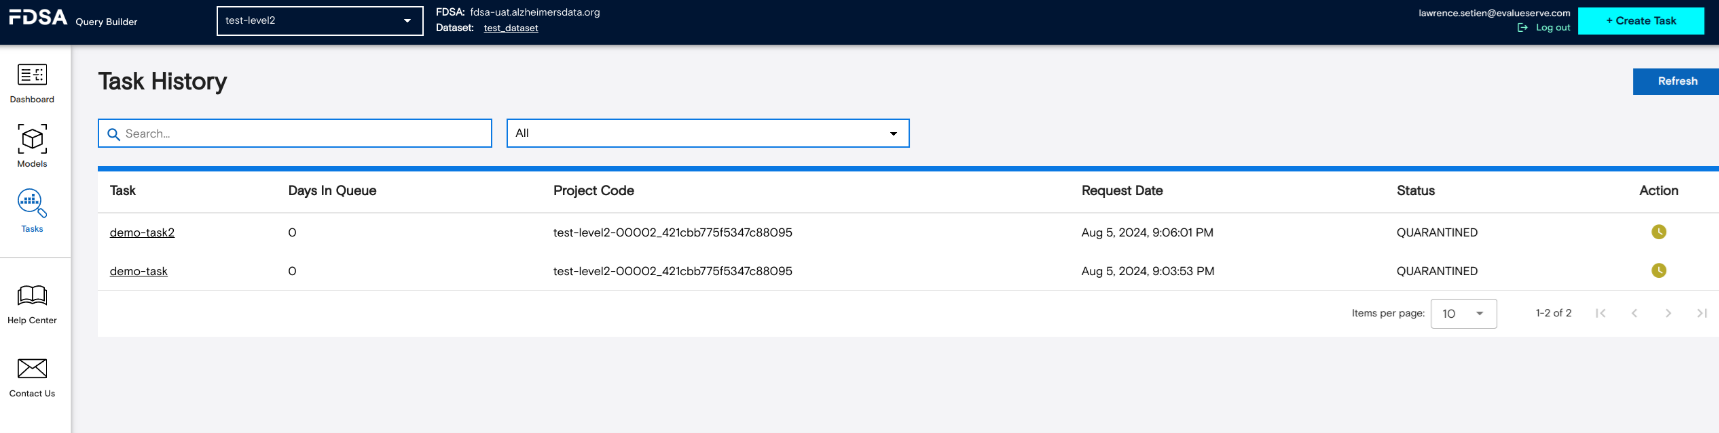
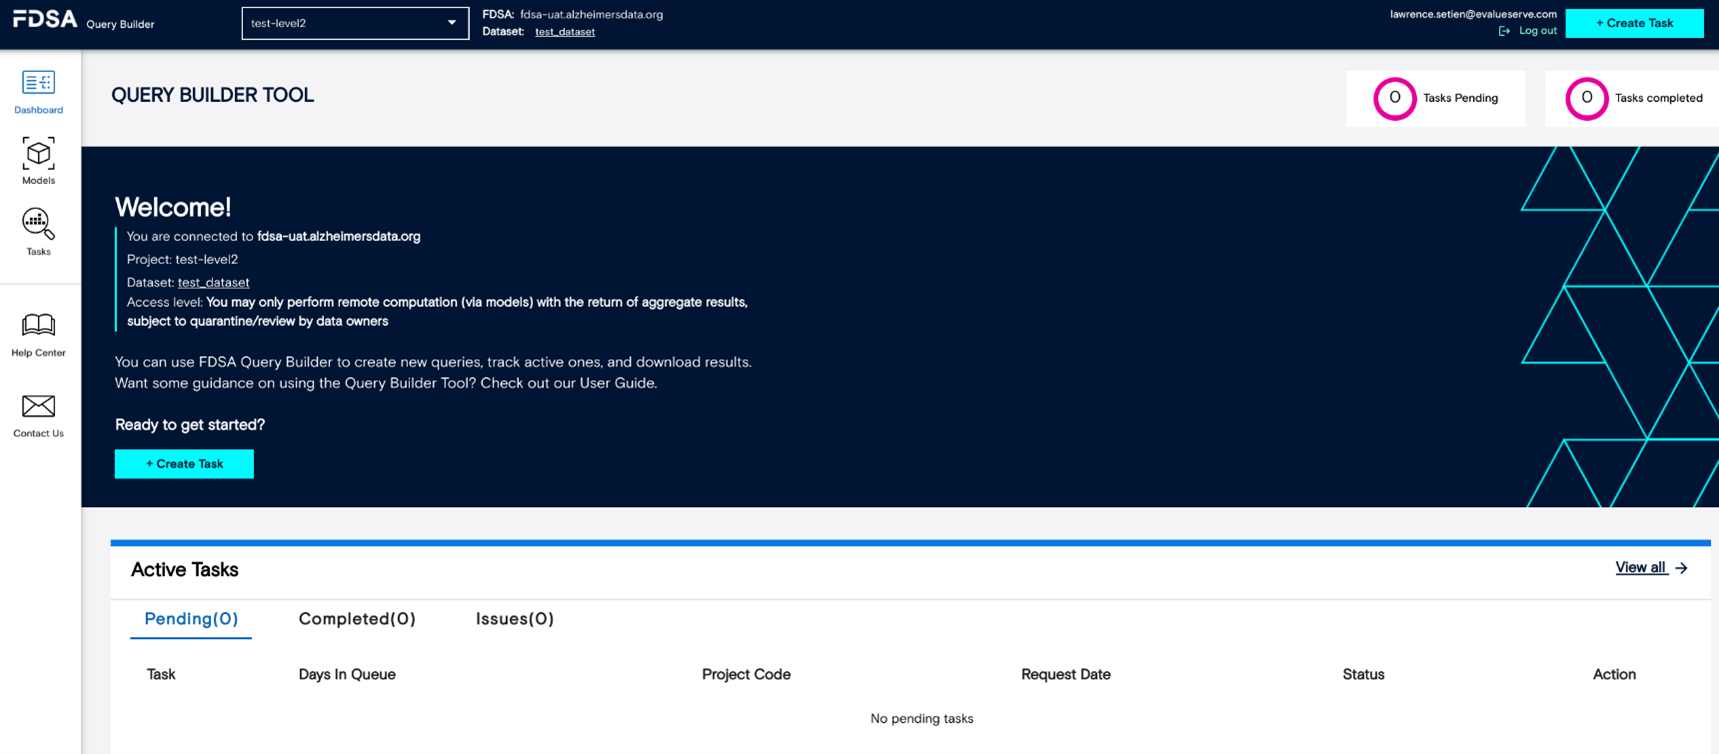
2. Understand the Query Builder Overview
The Overview screen shows key information about the dataset(s) you’re going to query, along with a list of your active tasks. From here you can:
- Review high-level details about the connected dataset(s).
- See the status of your existing tasks (e.g., quarantined, approved, completed).
- Create a new remote query task.
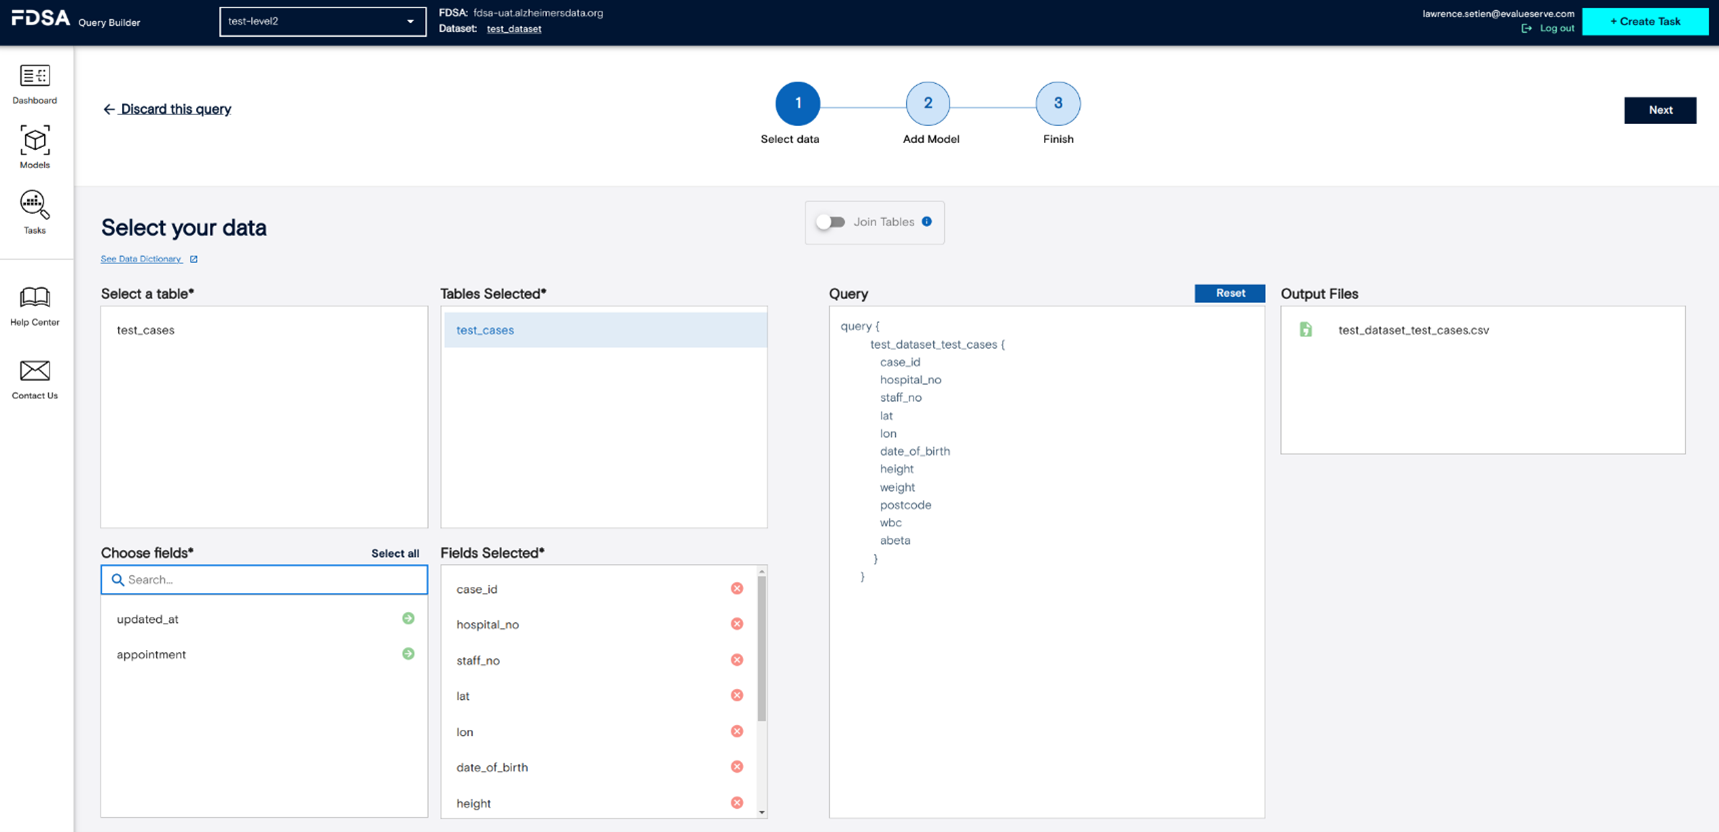
3. Create and Configure a Remote Query
- From the Overview, click + Create Task to start a new remote query.
- In the Select tables and columns window, choose the tables and fields you want to include in your analysis, then click Next.
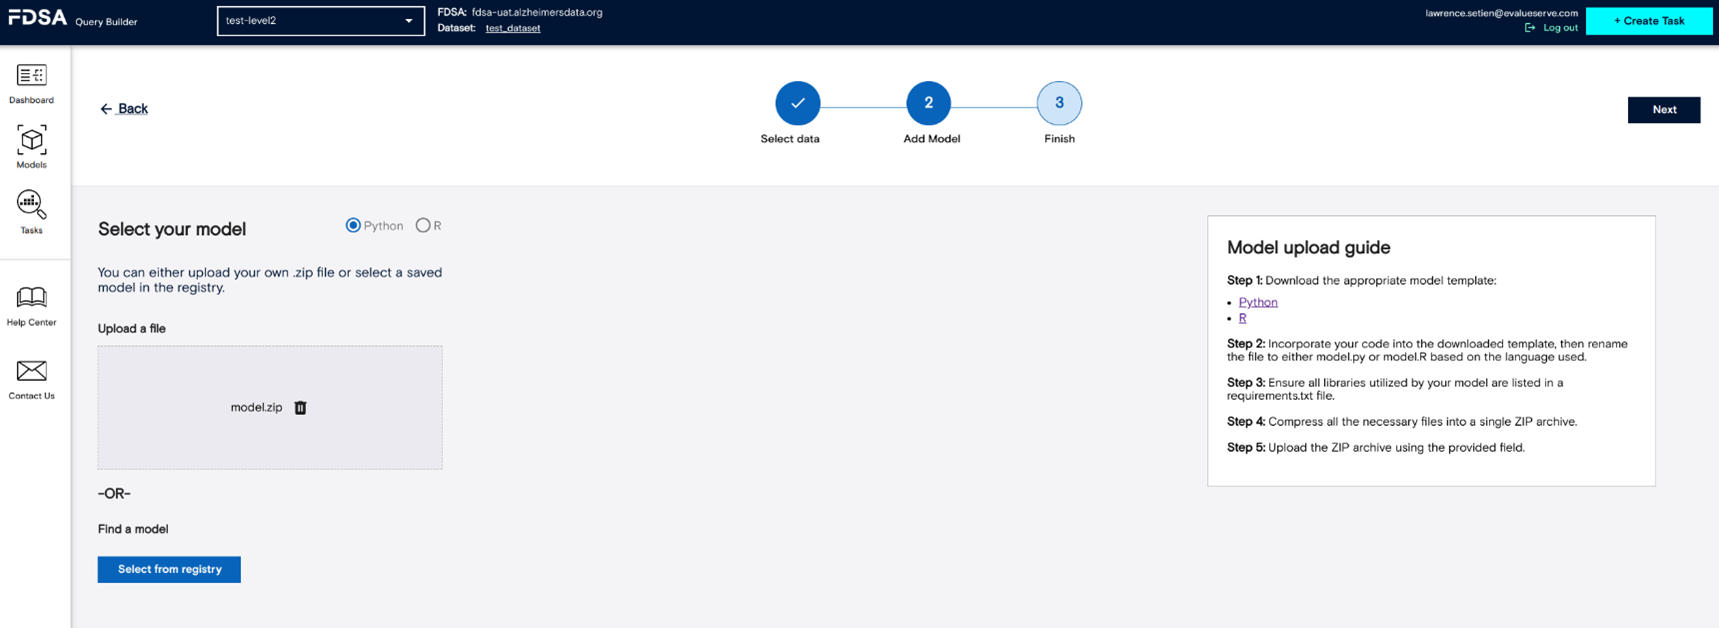
- In the Model step, choose how you want to run your analysis:
- Select an existing model from the registry, or
- Upload a new model file to use for this task. - Click Next to continue.
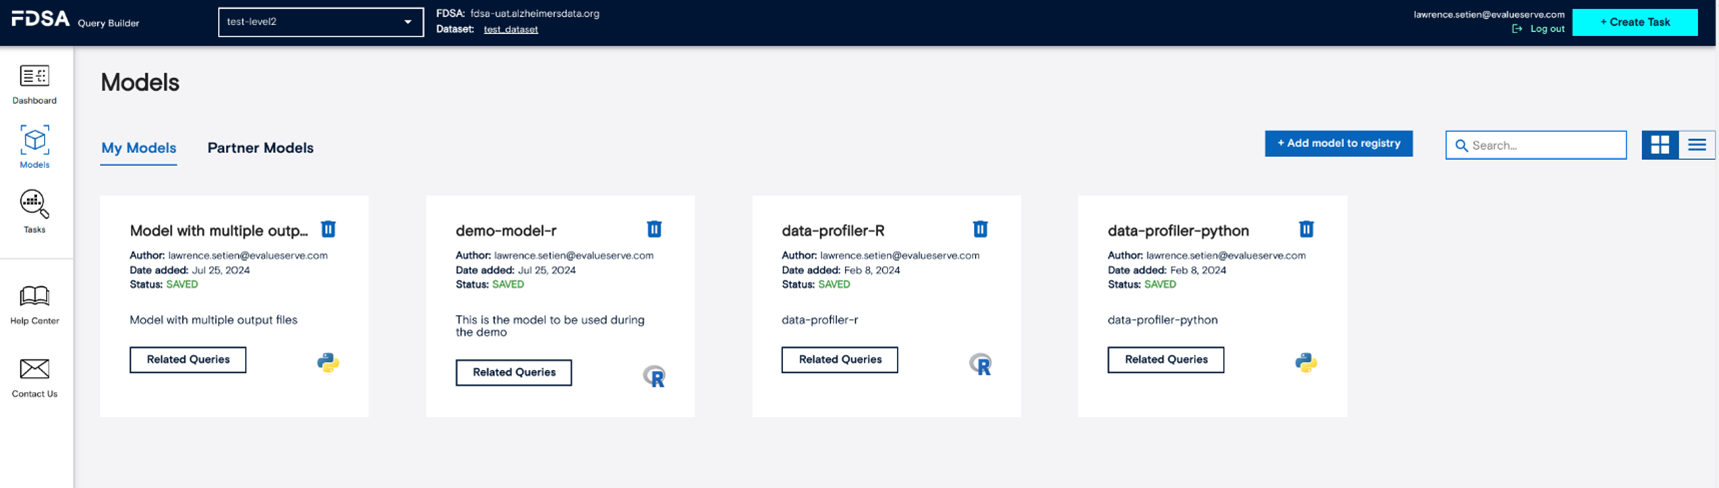
4 . Manage and Reuse Models
The Models section shows all models available in your repository. Here you can:
- View the list of models you’ve already uploaded.
- Upload a new model so it can be reused in future tasks.
To add a new model to the registry:
- Go to the Models section.
- Click + Add model to registry and upload your model file.
- After the upload is complete, the model will appear in the list and can be selected when you create a task.
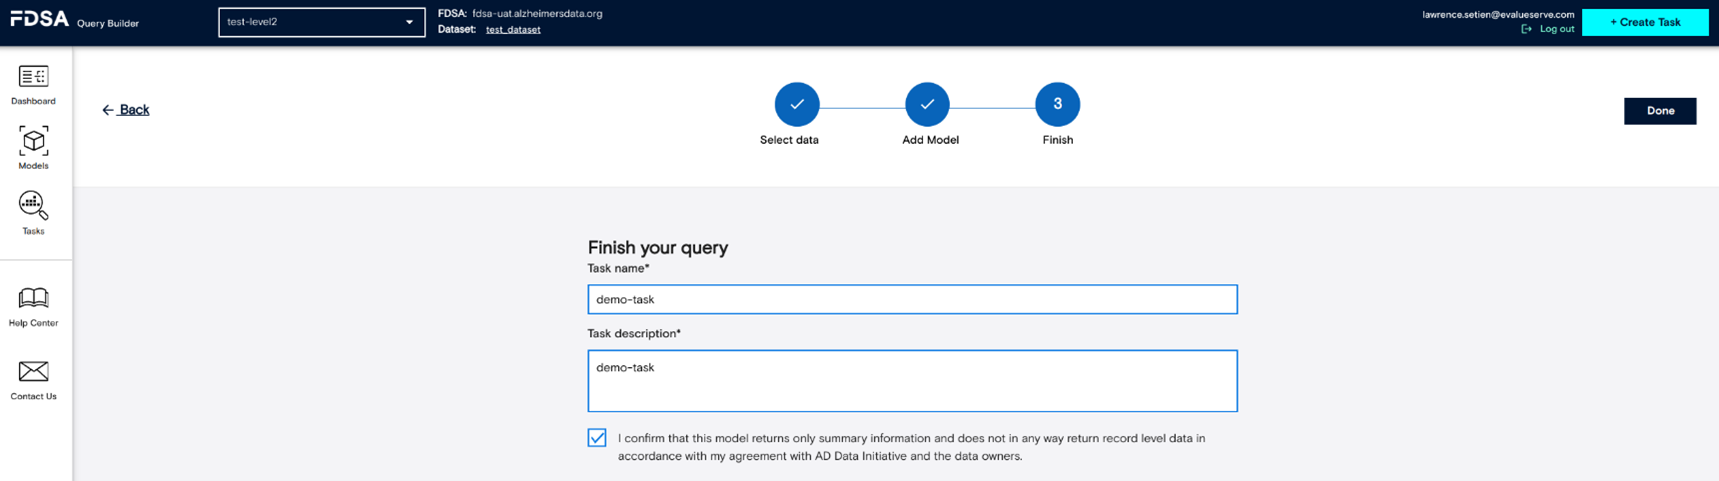
5 . Name Your Task and Track Approvals
- In the final step, give your task a name and description, then click Done to submit it.
- Your task will now appear in the Tasks list with a status of Quarantined This means an administrator must review and approve the task before it can run and before you see any results.
- After approval and execution, your approved results will be made available in your protected workspace for further analysis.